Welcome to Tynga's Reviews — Where the story began. Reviews published before June 2017 may have simplified formatting. Thanks for being here. ♥
Showing posts with label Journaling Tips. Show all posts

Tuesday, July 28, 2026

3 Ways to Print Your Reading Journal Book Cover Images

Starting a book journal is so exciting — but it can also feel a little daunting. In this journaling tips

series, I want to demystify one piece of the process at a time, to make your journey as smooth as possible.

One of the most common questions I get from readers who pick up my journal is, "How do you print the book covers?" So let's go over your options today.


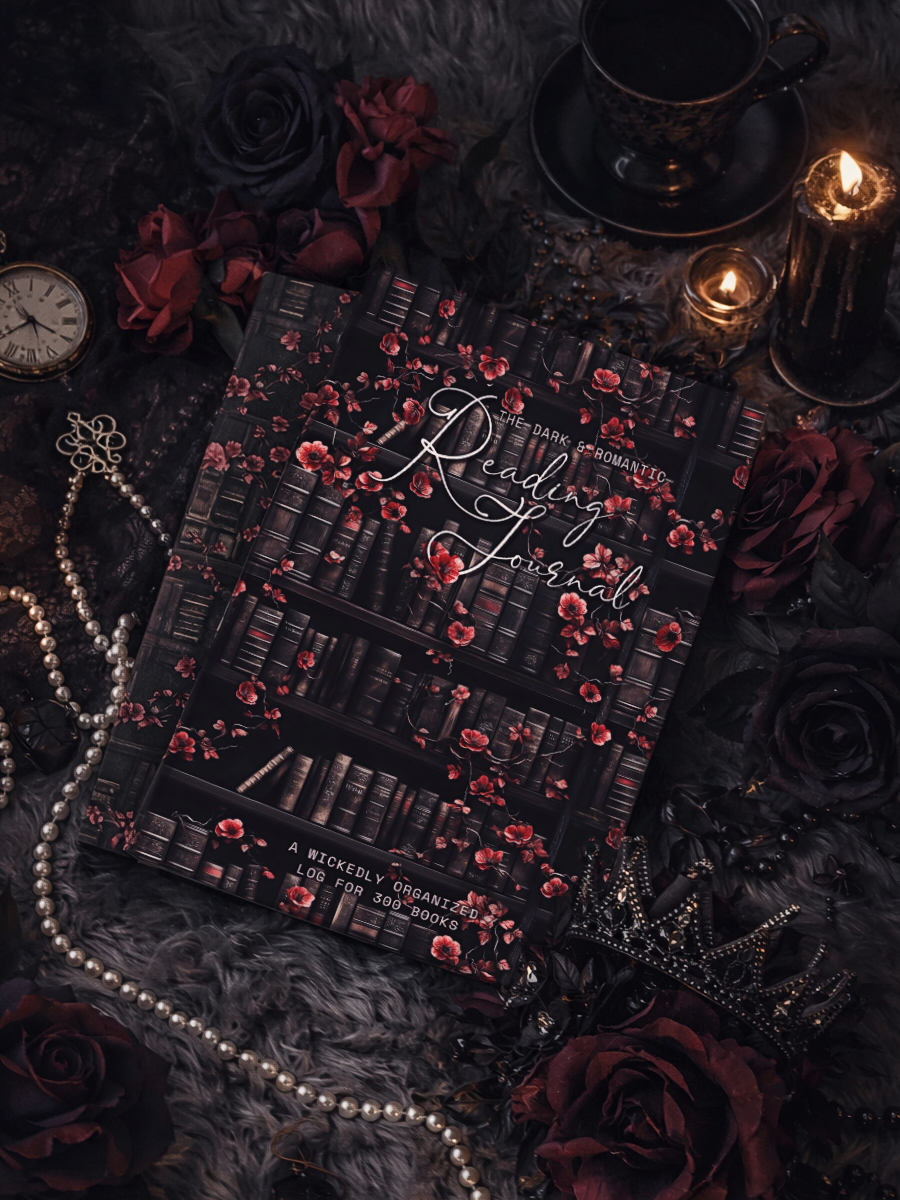
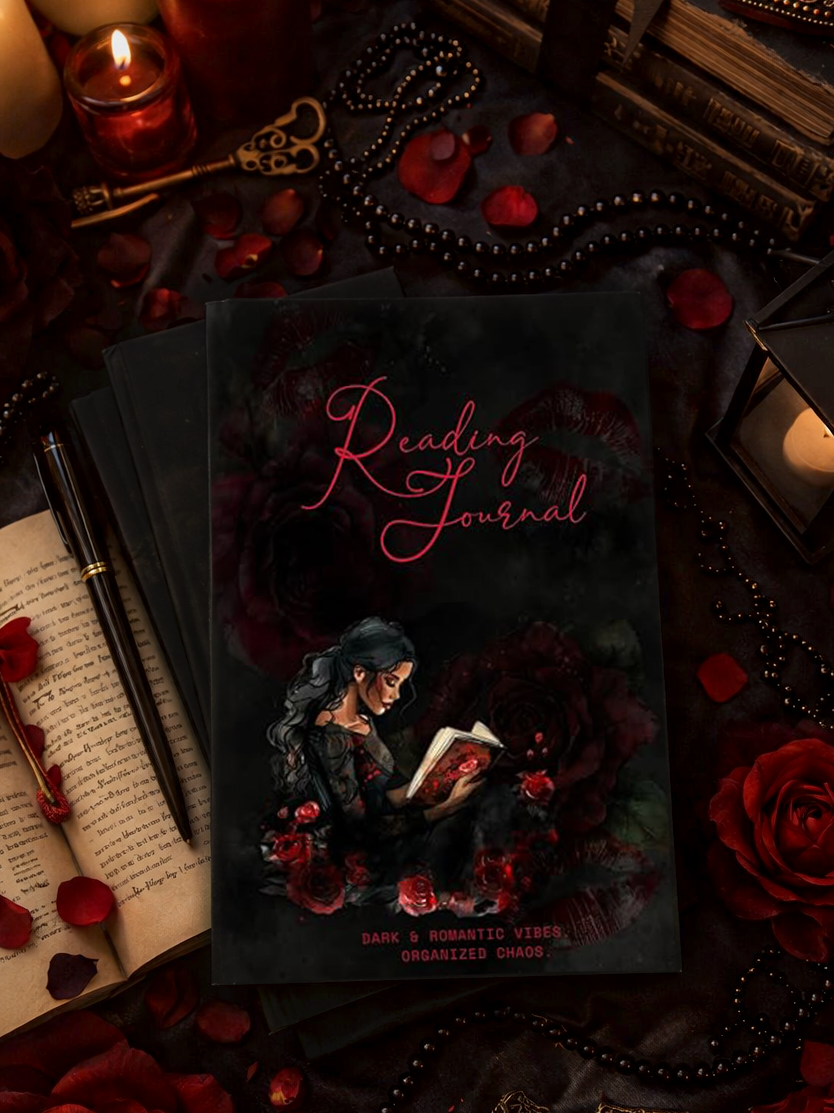
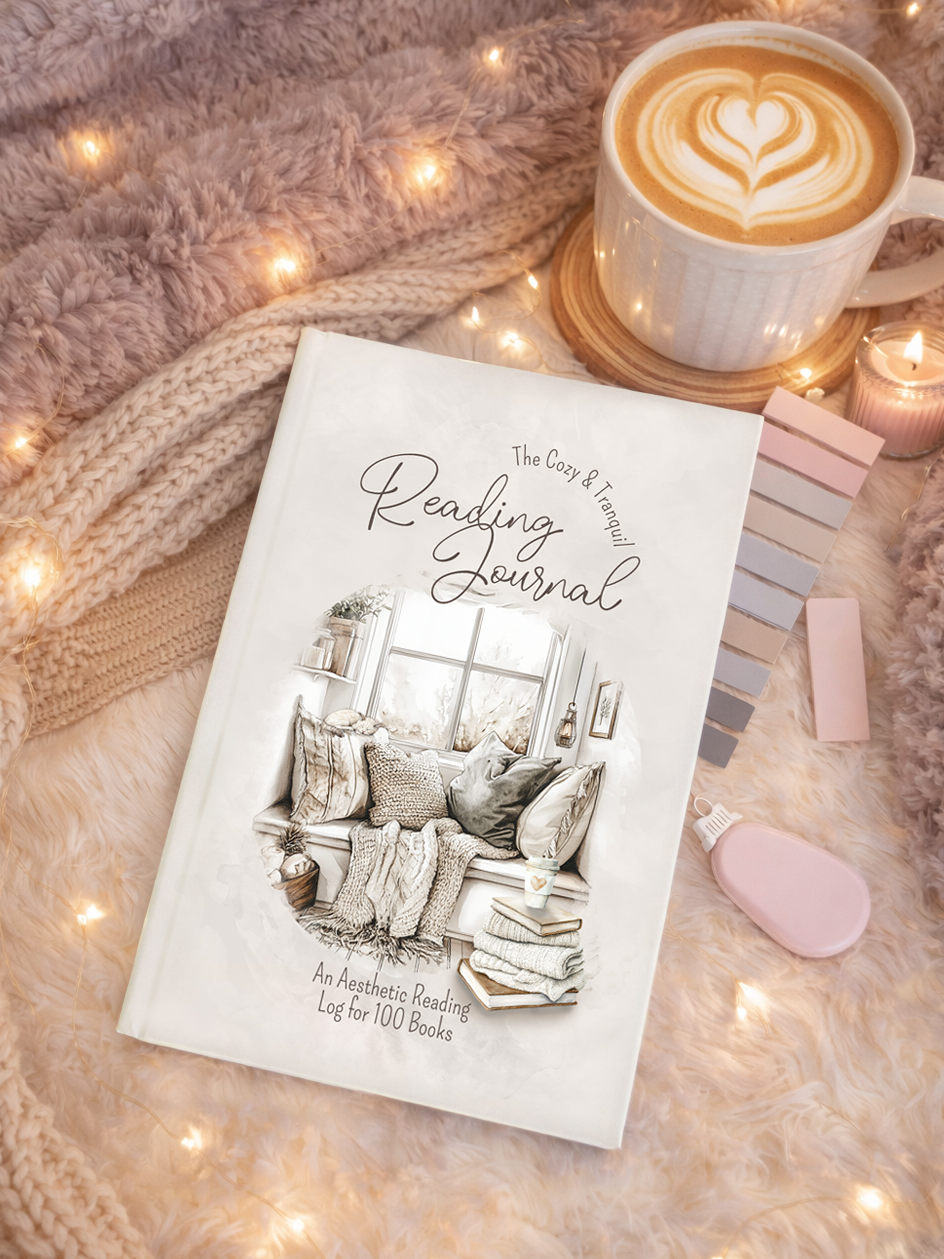
A quick note: this applies to reading journals in general, though I'll be using Tynga Publishing reading journals as my example throughout.

Option 1- Mini Photo Printers

Plenty of book journal enthusiasts swear by mini photo printers. Their 2” x 3” peel-and-stick photos fit snugly onto the review pages of Tynga Publishing journals, which makes this probably the easiest method to get started with.

A few popular options: Canon's Ivy 2 to HP's Sprocket and Liene's. Here's how it stacks up.


Pros:

  • Quick and easy — most come with their own app and walk you through the whole process
  • High-quality images
  • Peel-and-stick photo paper available, so there's no separate glue step

Cons:

  • The price — these run $100+, and depending on how much you print, it may not be worth it
  • The peel-and-stick paper adds up fast — you're looking at nearly $1 per photo
  • Sizing is rigid. Printing smaller images (like for your reading challenge tracker) gets complicated, and printing anything larger isn't possible at all

Option 2 — Home Printers

This is the option I personally use, and I find it's both the cheapest and the most customizable. It takes a bit more effort, but I've put together a beginner-friendly guide walking you through using Canva to print your images at exactly the size you need.

Home printers prices have very wide range of budgets, which allows you to select the perfect tool for your budget. I personally use mid level printer, the Canon Pixma TR7620a Home Office Printer, but honestly, even the cheapest printers will give you acceptable results — just make sure you pick one with color capability if you want color covers.

A home printer also means ink, and there are ways to save there too. I use off-brand refills at $28 for 830 color pages. There might be cheaper options out there, but I'm happy with this quality.


If budget is your main concern, regular printer paper paired with scrapbooking glue tape works beautifully — I used this method for well over a year before discovering something even more fun: peel-and-stick printer paper.

Right now I'm using Waterproof Printable Vinyl Sticker Paper for inkjet printers in a glossy finish (currently sold out where I bought mine, but I paid $16 for 20 sheets). I've also got my eye on Uinkit's glossy sticky photo paper — just $26 for 100 sheets, which is hard to beat. If glossy isn't your vibe, they also carry a matte version for a slightly higher price.

Pros:
  • The cheapest option I've found. You can fit 9 standard cover images onto a single sheet — factoring in ink and paper, that's roughly 3 cents per 2” x 3” cover
  • Flexible — use regular paper, matte sticker paper, glossy sticker paper, or even standard photo paper, whatever suits you
  • Print any size you need — with my Canva guide, you're not locked into one dimension
  • High image quality potential, depending on your printer and paper choice
Cons:
  • More hands-on — you can't just tap print and walk away
  • You'll need to cut around each image, since it prints on a full 8.5" x 11" sheet

Option 3 — Retail Print Labs & Photo Kiosks

If you'd rather skip owning any equipment at all, your local pharmacy or big-box store's photo counter — think Walgreens, CVS, Costco, or Walmart — is worth a look. Upload your images through their app or website, then pick up same-day in-store or have them mailed to you.

Pros:
  • No equipment, ink, or paper to buy and store
  • Prints are typically inexpensive — often $0.25–$0.35 per standard small photo
  • Lab-quality results with zero guesswork on your end
Cons:
  • Sizing is limited to their standard photo dimensions, so you may need to get creative arranging multiple covers per print, or trim down afterward
  • No peel-and-stick — you'll still need glue or tape
  • Requires a trip out, or a few days' wait if ordering for mail delivery

**Please note that I haven't tried this method.

A couple of honorable mentions: custom sticker printing services like Sticker Mule or StickerYou will turn a whole sheet of your cover images into ready peel-and stick stickers without you touching a printer — though there's usually a minimum order and shipping wait. And if you print covers rarely, a copy shop like FedEx Office or even your local library's printer is a no-commitment, pay-per-page option.

Whichever method you land on, there's no single "right" way to do this — only the one that fits your budget, your patience, and how much your covers mean to you. If you haven't already, check out my step-by-step Canva sizing guide to pair the second printing option.

Got a method I didn't cover? Drop it in the comments — I'd love to add it here.

Thursday, June 25, 2026

You Don’t Have to Be Artistic to Keep a Beautiful Reading Journal 📚

    You are green with envy over the beautiful handmade reading journals you've seen on social media, but you don't feel artistic enough to create your own? Let me hold your hand while I say this — and not in a sarcastic way — you can do it. And I'm gonna help you!

What does your reading journal actually need?

That one is fairly easy, and it depends entirely on your own interests. The possibilities are endless, and Pinterest is full of inspirational spreads you can borrow ideas from. Don’t let all those options cause decision paralysis though, start with one or two and add them as you go.

Some of my favorite features include:

  • A colorable reading log (very easy to draw! We can all draw rectangles 🙂‍↕️)
  • Reading Challenges (Read the Rainbow, A to Z, Favorite Tropes, and so many more options!)
  • Bookish Bingos (You don't even have to come up with your own ideas, there are premade ones available online, you can even get a free one from me when you subscribe to my newsletter)
  • Yearly favorite book brackets (Once again, you only need to draw rectangle, and you can draw inspiration for layout on Pinterest)
  • A DNF log 

But Tynga, what about the review page itself? 

You only need to ask yourself, "which information would I like to know — at a glance — when revisiting the books I've immortalized in my journal?"

I would say the basics are:
  • Space for the book cover image if you want to print them
  • Title and author name
  • Series title and number
  • Page count / listening time (for audiobooks)
  • Format — Print? E-book? Audiobook?
  • Dates read — I like to include both the start and finish dates.
As for the more interesting bits?
  • Genre
  • POV — Single? Duo? Multi?
  • Favorite Character
  • Tropes — This helps me soooo much when creating content! 
  • Favorite moment
  • Favorite Quote
  • Ratings, of course! Stars is the go-to, but I also include tears and spice in mine 🤭
  • Audiobook narration—solo, dual, or duet?
I have a confession for you... The task of hand-drawing a journal from a bullet journal seemed daunting to me. I'm good at graphic design, but not so good at free drawing. So I started looking at pre-made reading journals, but there was one feature I absolutely wanted and couldn’t find anywhere: a checkbox for audiobook narration type.

I have a very active lifestyle and I read a lot of audiobooks. To me, the narration style is super important, it influences my decision to read the sequel in audio or not, and it's important when I create content. I couldn't find a reading journal with that feature on the market though, so I created my own. 😅

But what if you have limited time on your hands?

Journal keeping doesn't need to consume your time and become your entire personality. You don't need to spend hours scrapbooking and decorating spreads to keep a record of your reading history. If you love art & crafts and it's your vibe, more power to you, but if you're a busy gremlin, a pre-made journal might be just the thing you need. 

A tip I can give you is to keep your reading journal near you while reading. You can fill in the basic book info when you start it and write down anything you want to remember while reading. I note things like tropes and micro-tropes as soon as I encounter them (otherwise I forget! 🤣), a quote that I need to keep, a moment that made me swoon... That way, when I finish reading my book, my review page is basically already filled in. 

Your Reading Journal Only Has to Work for You

Start small. Choose the information you genuinely want to remember, add one or two trackers that make you excited, and let your journal grow alongside your reading life. Your first pages do not need to look like the elaborate handmade spreads you see online — and they certainly do not need to be perfect.

If drawing, decorating, and scrapbooking are part of the fun for you, browse Pinterest shamelessly and make the ideas your own. If designing every page sounds like one more task your busy life does not need, a pre-made reading journal can give you the structure and aesthetic without all the setup.

The point is not to prove that you’re artistic. It is to preserve the books that made you laugh, cry, swoon, rage, or stare silently at the wall for several minutes after finishing them, and remember those feelings when you flip through the pages 5 years from now.

So grab a notebook, open a printable, or choose a journal that already feels like you — and begin with your next book.

Need a place to begin?

Browse my guided reading journals, or join the newsletter to get the free printables to get you started!

Join the Inner Circle

Free 2026 Reading Bingo printable, occasional freebies and new-release updates for all Tynga Publishing reading journals.