
This post may contain affiliate links. If you make a purchase through one, I may earn a small commission at no extra cost to you. Thank you for supporting Tynga's Reviews! ♥
Starting a book journal is so exciting — but it can also feel a little daunting. In this journaling tips 
series, I want to demystify one piece of the process at a time, to make your journey as smooth as possible.

series, I want to demystify one piece of the process at a time, to make your journey as smooth as possible.
One of the most common questions I get from readers who pick up my journal is, "How do you print the book covers?" So let's go over your options today.
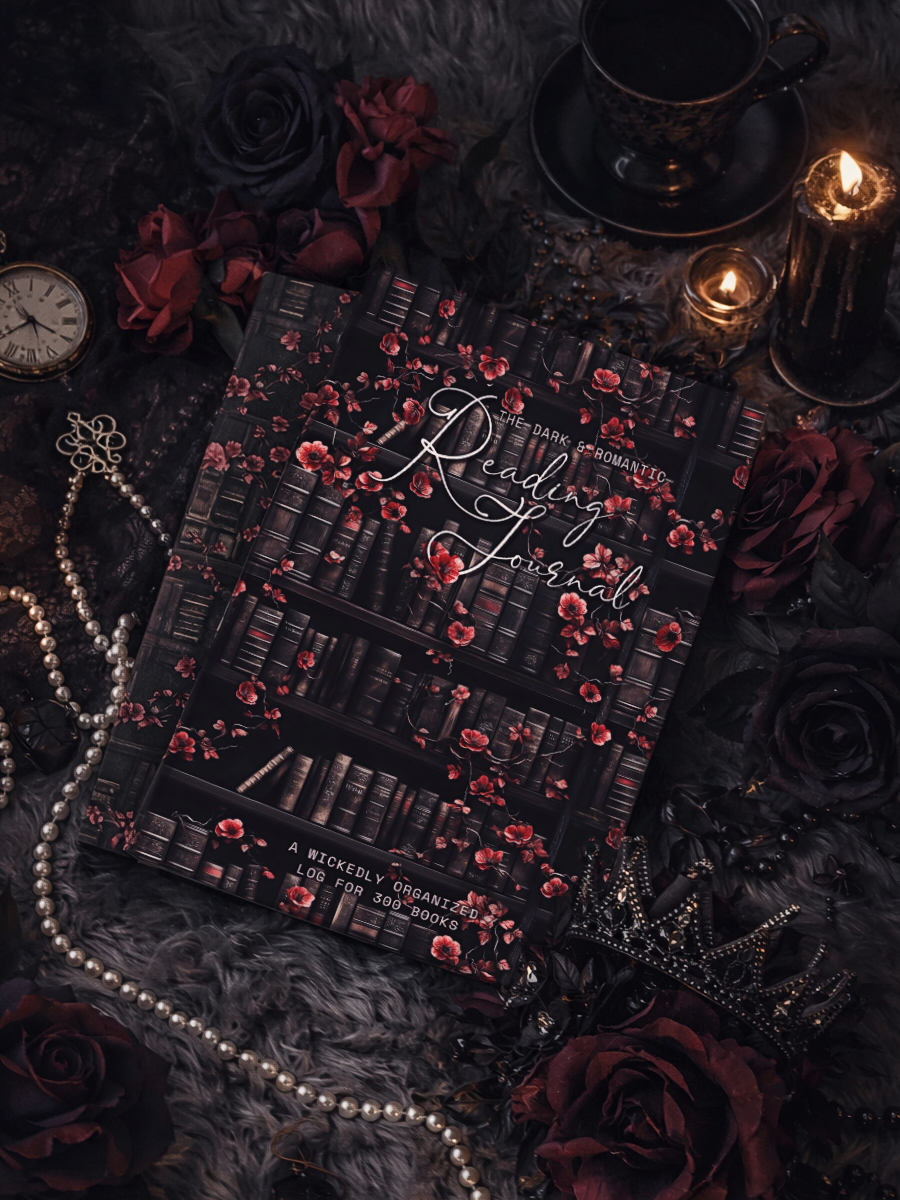
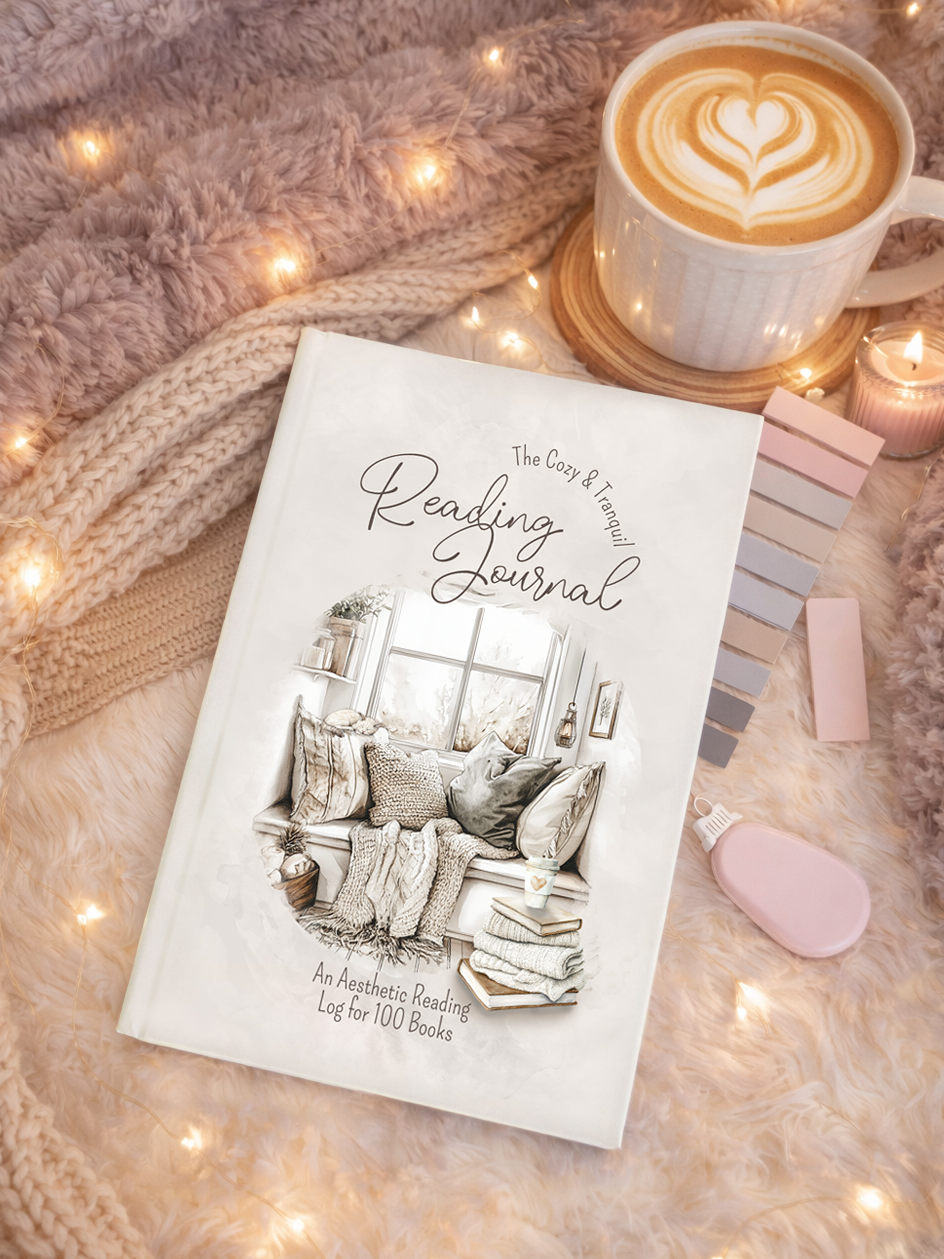
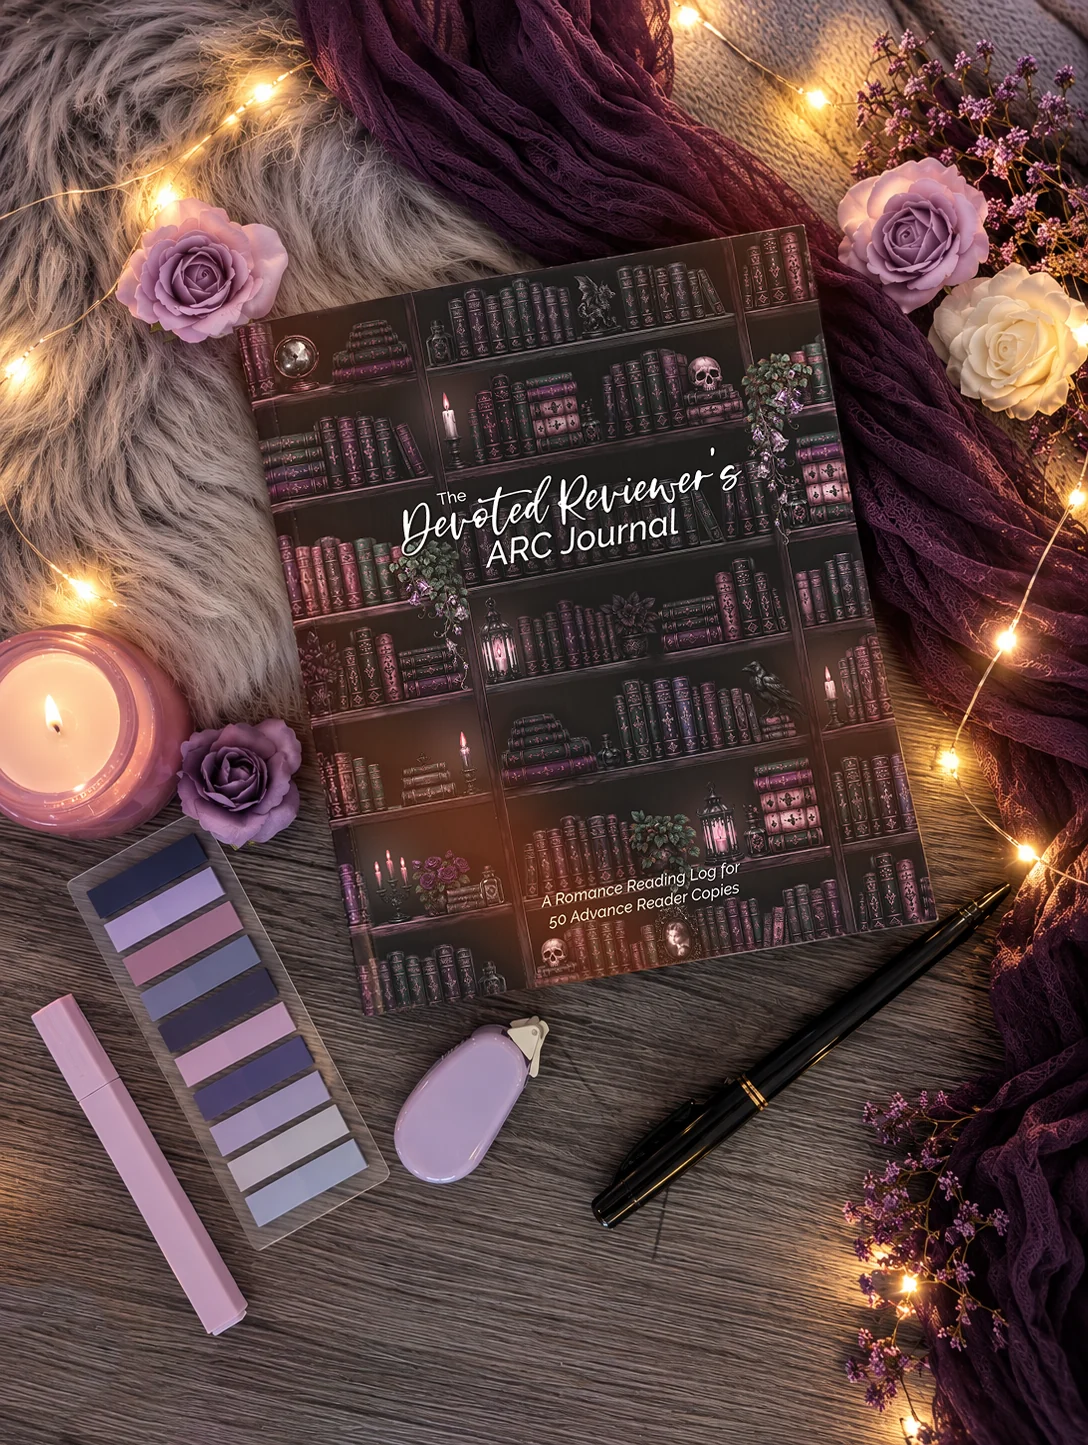
A quick note: this applies to reading journals in general, though I'll be using Tynga Publishing reading journals as my example throughout.
Option 1- Mini Photo Printers
Plenty of book journal enthusiasts swear by mini photo printers. Their 2” x 3” peel-and-stick photos fit snugly onto the review pages of Tynga Publishing journals, which makes this probably the easiest method to get started with.

Pros:
- Quick and easy — most come with their own app and walk you through the whole process
- High-quality images
- Peel-and-stick photo paper available, so there's no separate glue step
Cons:
- The price — these run $100+, and depending on how much you print, it may not be worth it
- The peel-and-stick paper adds up fast — you're looking at nearly $1 per photo
- Sizing is rigid. Printing smaller images (like for your reading challenge tracker) gets complicated, and printing anything larger isn't possible at all
Option 2 — Home Printers
This is the option I personally use, and I find it's both the cheapest and the most customizable. It takes a bit more effort, but I've put together a beginner-friendly guide walking you through using Canva to print your images at exactly the size you need.
Home printers prices have very wide range of budgets, which allows you to select the perfect tool for your budget. I personally use mid level printer, the Canon Pixma TR7620a Home Office Printer, but honestly, even the cheapest printers will give you acceptable results — just make sure you pick one with color capability if you want color covers.
A home printer also means ink, and there are ways to save there too. I use off-brand refills at $28 for 830 color pages. There might be cheaper options out there, but I'm happy with this quality.

If budget is your main concern, regular printer paper paired with scrapbooking glue tape works beautifully — I used this method for well over a year before discovering something even more fun: peel-and-stick printer paper.
Right now I'm using Waterproof Printable Vinyl Sticker Paper for inkjet printers in a glossy finish (currently sold out where I bought mine, but I paid $16 for 20 sheets). I've also got my eye on Uinkit's glossy sticky photo paper — just $26 for 100 sheets, which is hard to beat. If glossy isn't your vibe, they also carry a matte version for a slightly higher price.
Pros:
- The cheapest option I've found. You can fit 9 standard cover images onto a single sheet — factoring in ink and paper, that's roughly 3 cents per 2” x 3” cover
- Flexible — use regular paper, matte sticker paper, glossy sticker paper, or even standard photo paper, whatever suits you
- Print any size you need — with my Canva guide, you're not locked into one dimension
- High image quality potential, depending on your printer and paper choice
Cons:
- More hands-on — you can't just tap print and walk away
- You'll need to cut around each image, since it prints on a full 8.5" x 11" sheet
Option 3 — Retail Print Labs & Photo Kiosks
If you'd rather skip owning any equipment at all, your local pharmacy or big-box store's photo counter — think Walgreens, CVS, Costco, or Walmart — is worth a look. Upload your images through their app or website, then pick up same-day in-store or have them mailed to you.
Pros:
- No equipment, ink, or paper to buy and store
- Prints are typically inexpensive — often $0.25–$0.35 per standard small photo
- Lab-quality results with zero guesswork on your end
Cons:
- Sizing is limited to their standard photo dimensions, so you may need to get creative arranging multiple covers per print, or trim down afterward
- No peel-and-stick — you'll still need glue or tape
- Requires a trip out, or a few days' wait if ordering for mail delivery
**Please note that I haven't tried this method.
A couple of honorable mentions: custom sticker printing services like Sticker Mule or StickerYou will turn a whole sheet of your cover images into ready peel-and stick stickers without you touching a printer — though there's usually a minimum order and shipping wait. And if you print covers rarely, a copy shop like FedEx Office or even your local library's printer is a no-commitment, pay-per-page option.
Whichever method you land on, there's no single "right" way to do this — only the one that fits your budget, your patience, and how much your covers mean to you. If you haven't already, check out my step-by-step Canva sizing guide to pair the second printing option.
Got a method I didn't cover? Drop it in the comments — I'd love to add it here.



0 Comments:
Post a Comment